We used: stand mixer, stovetop, pots, chocolate molds, bowls, spoon, offset spatula, thermometer and refrigerator.
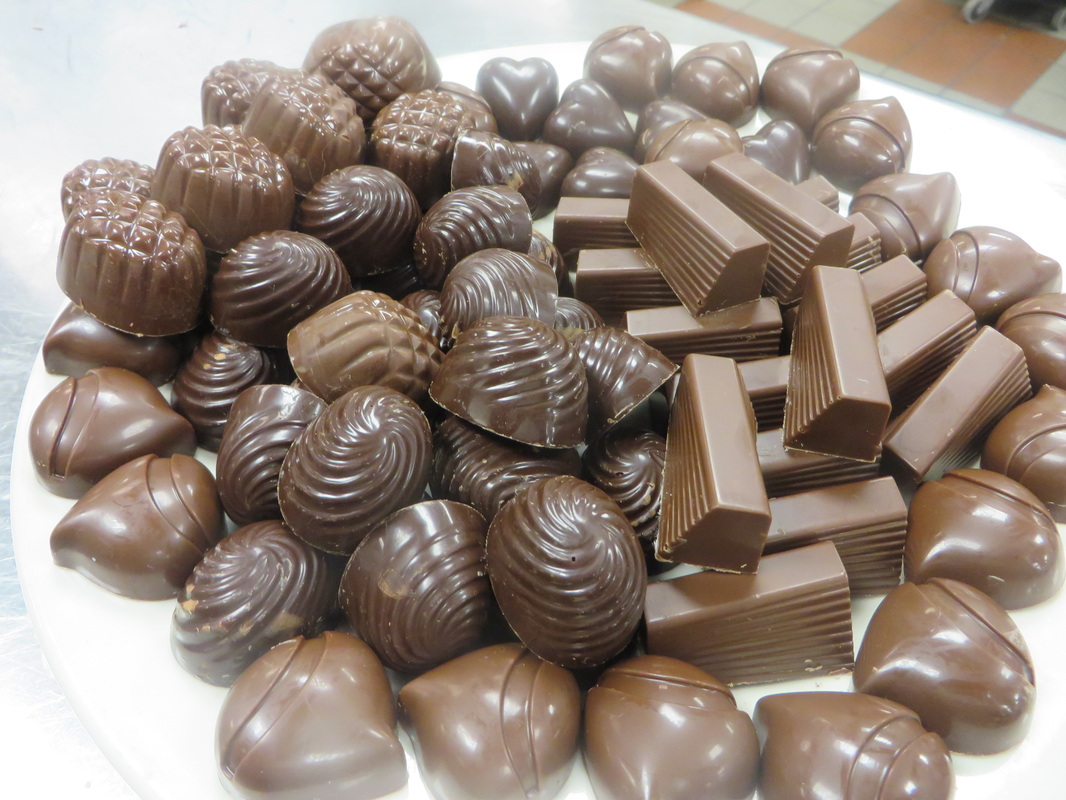
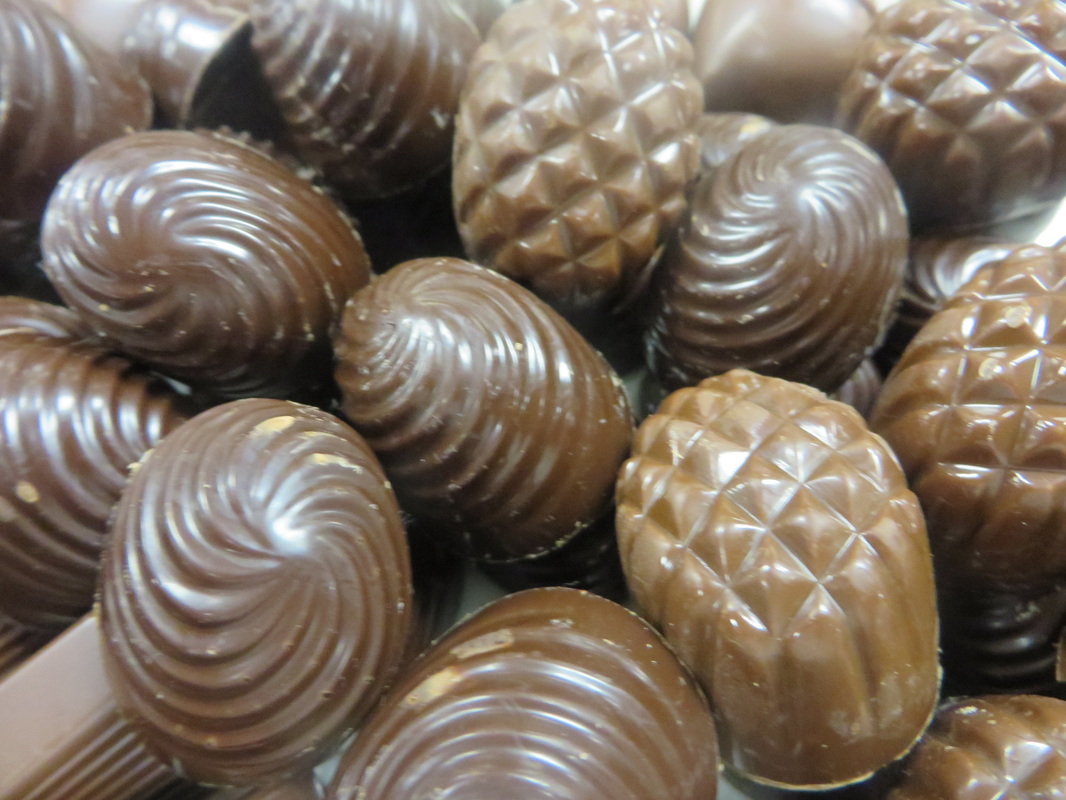
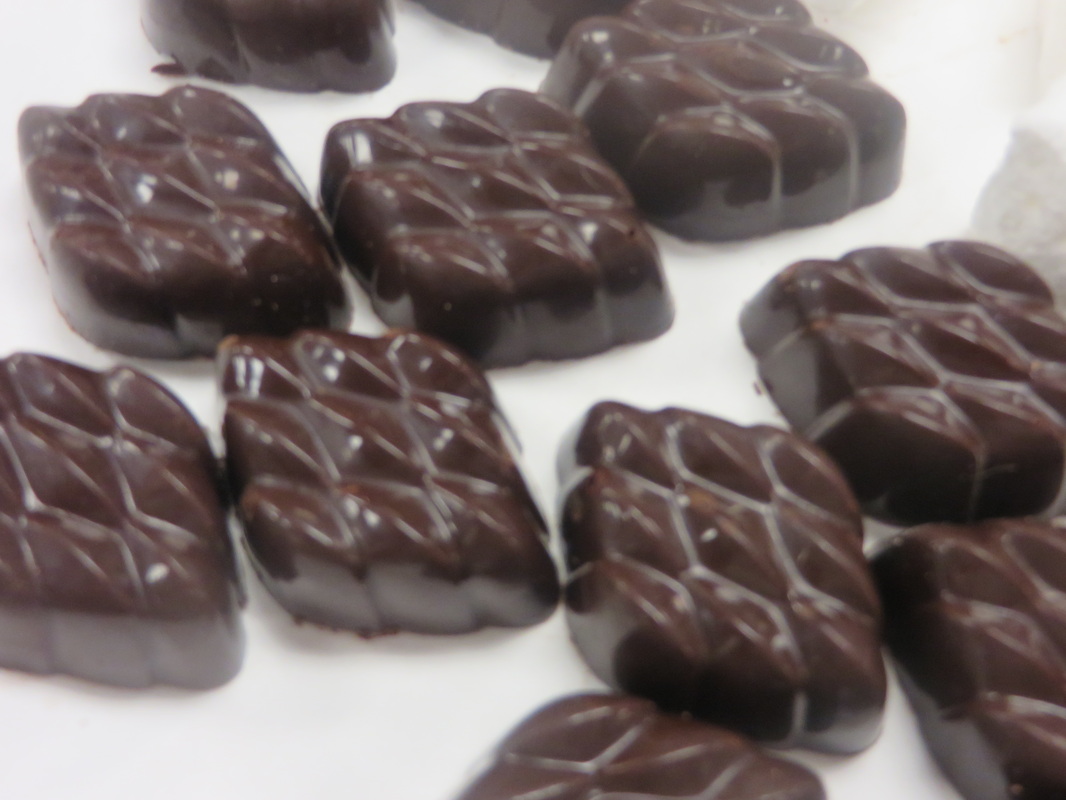
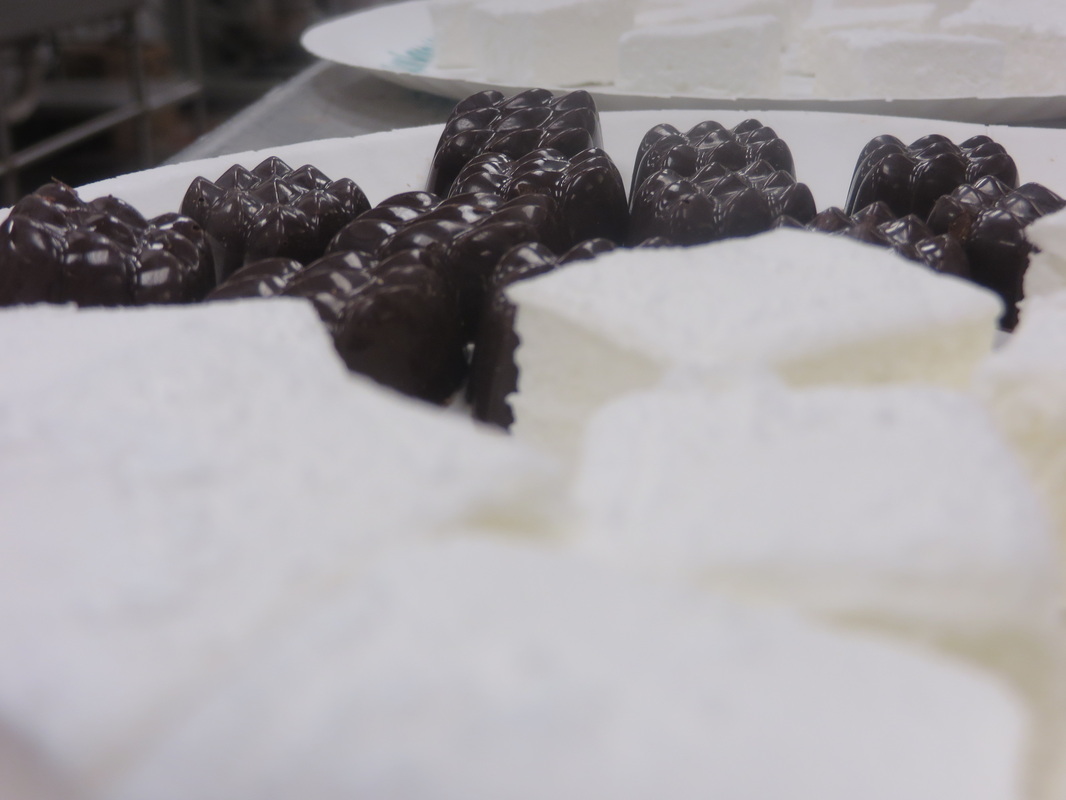
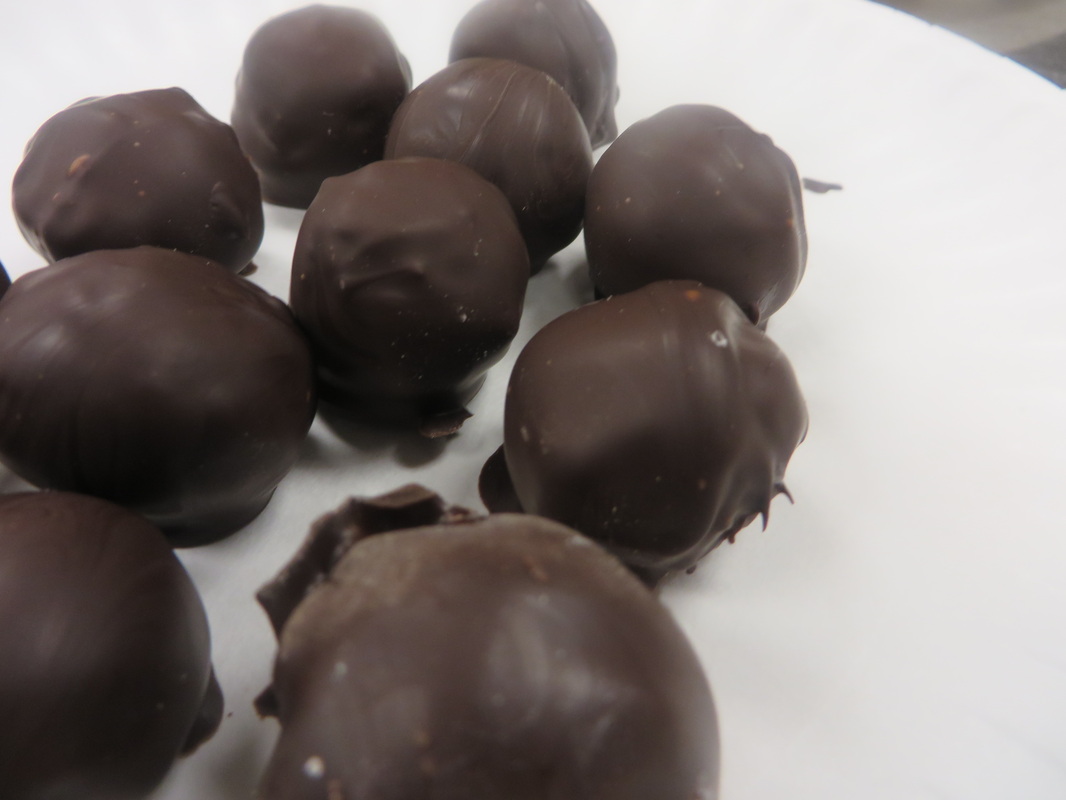
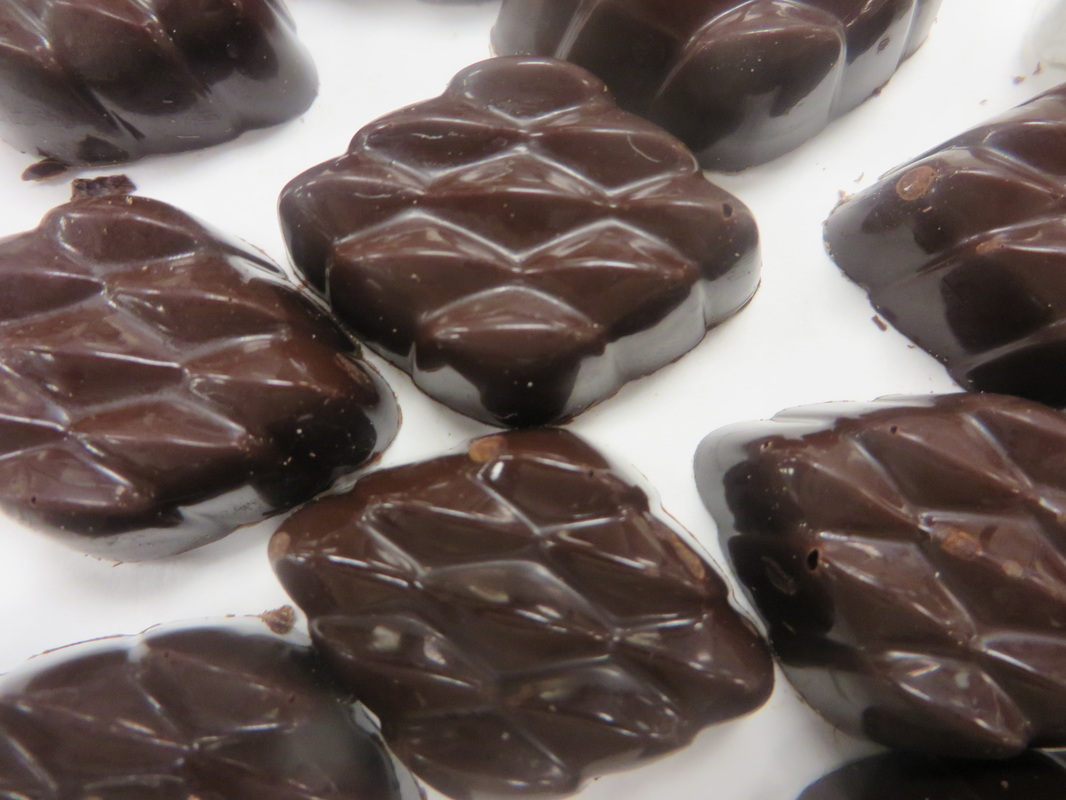
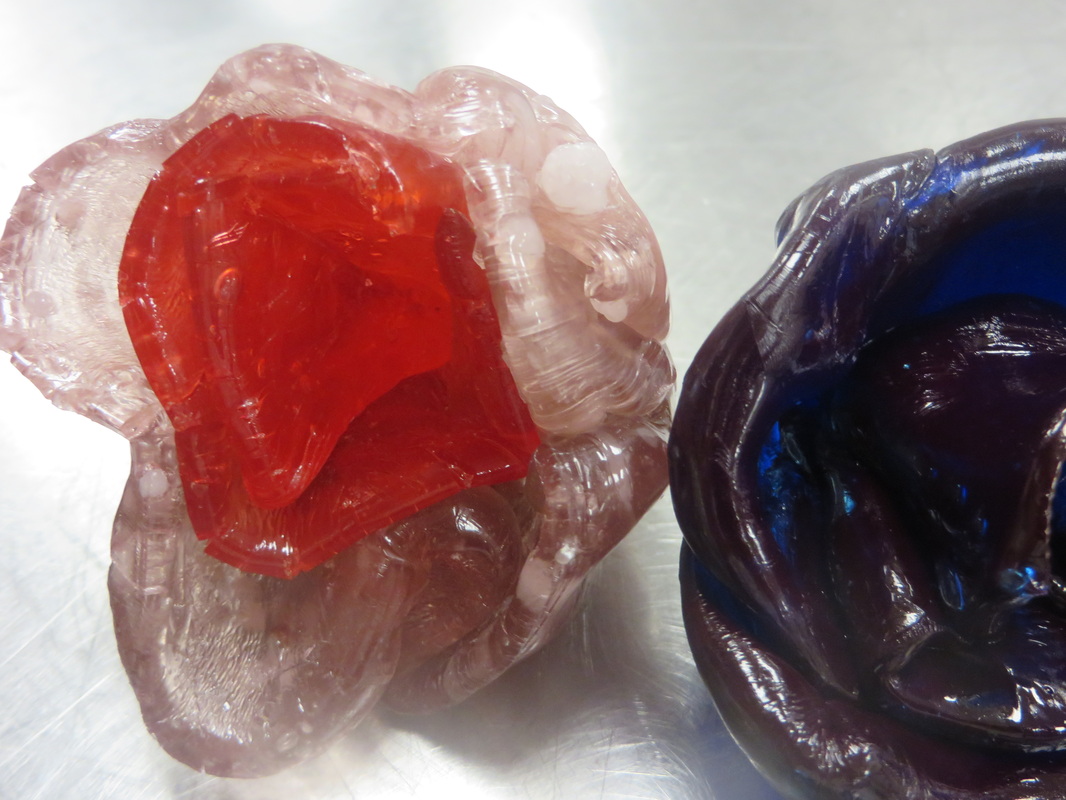
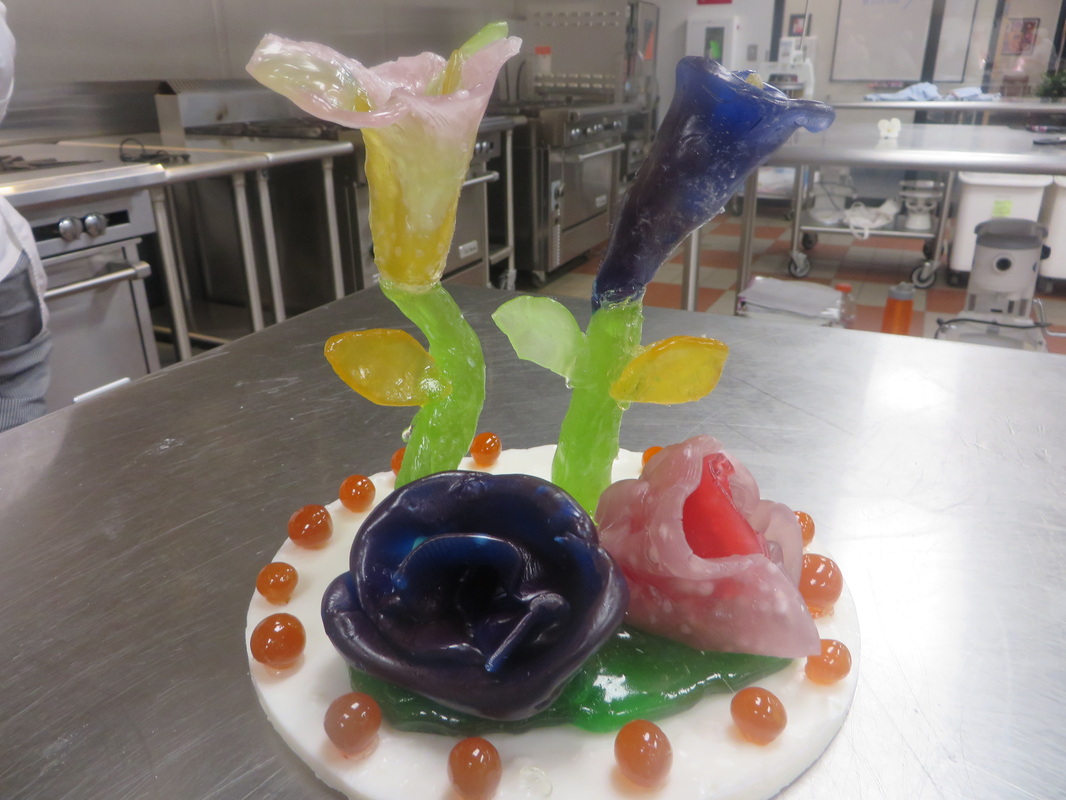
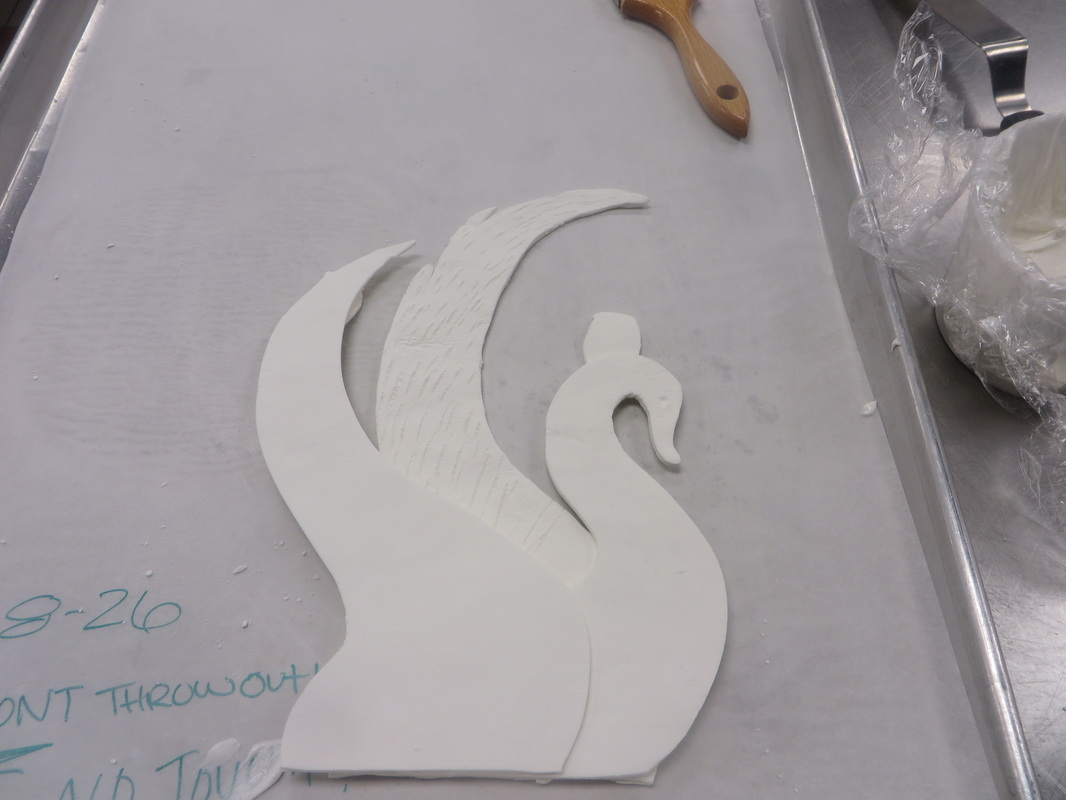
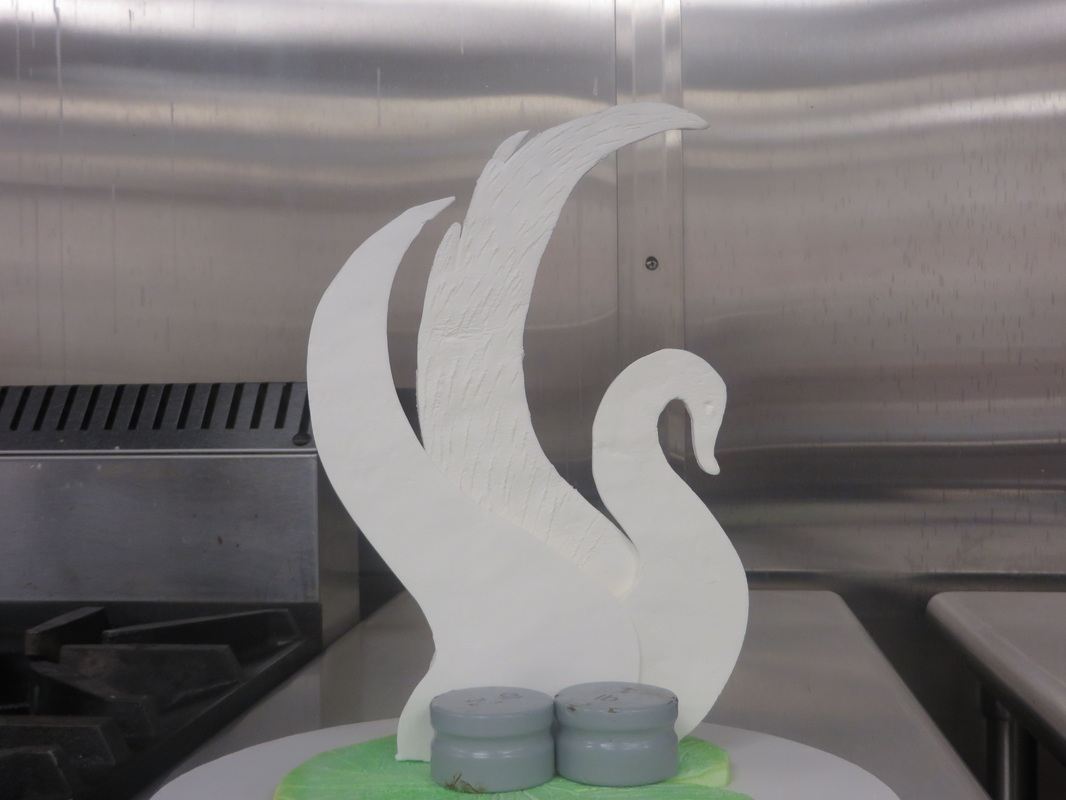
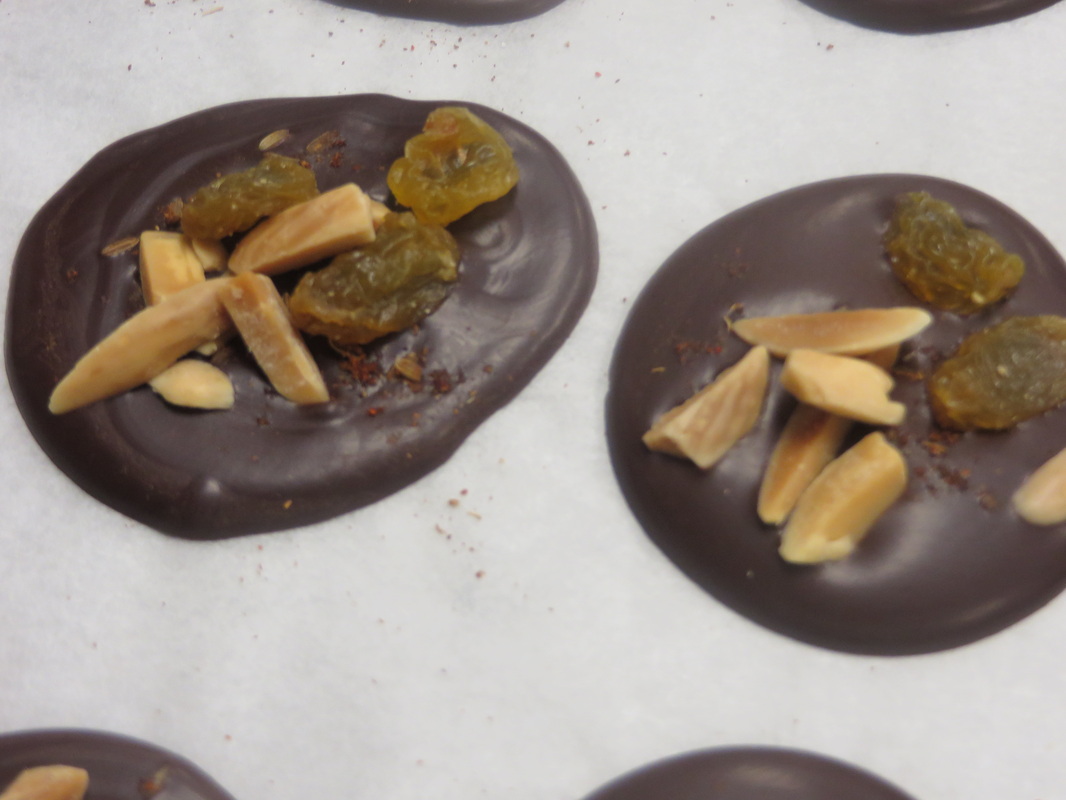
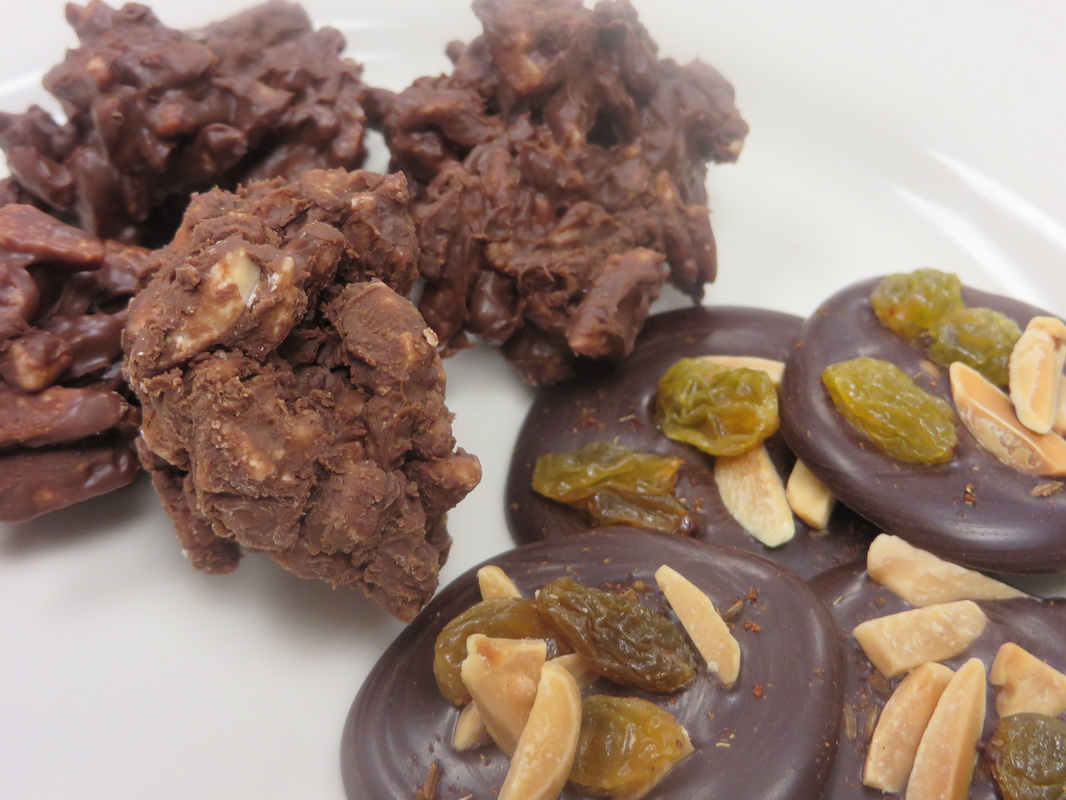
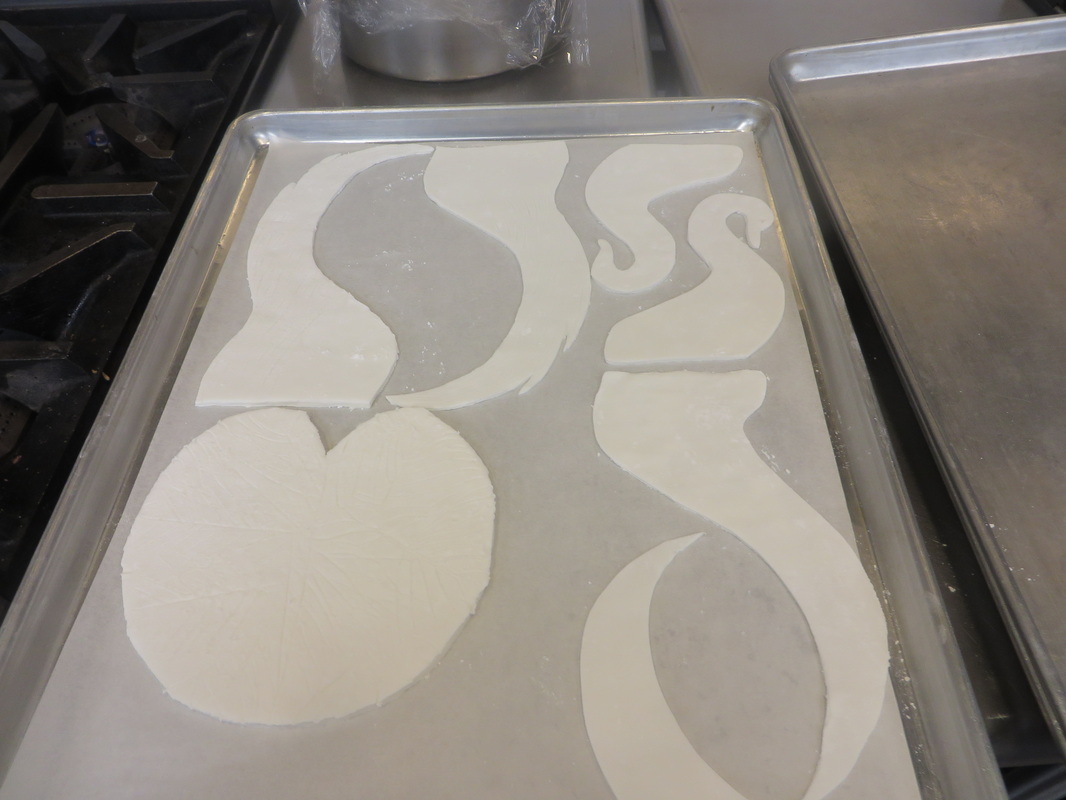
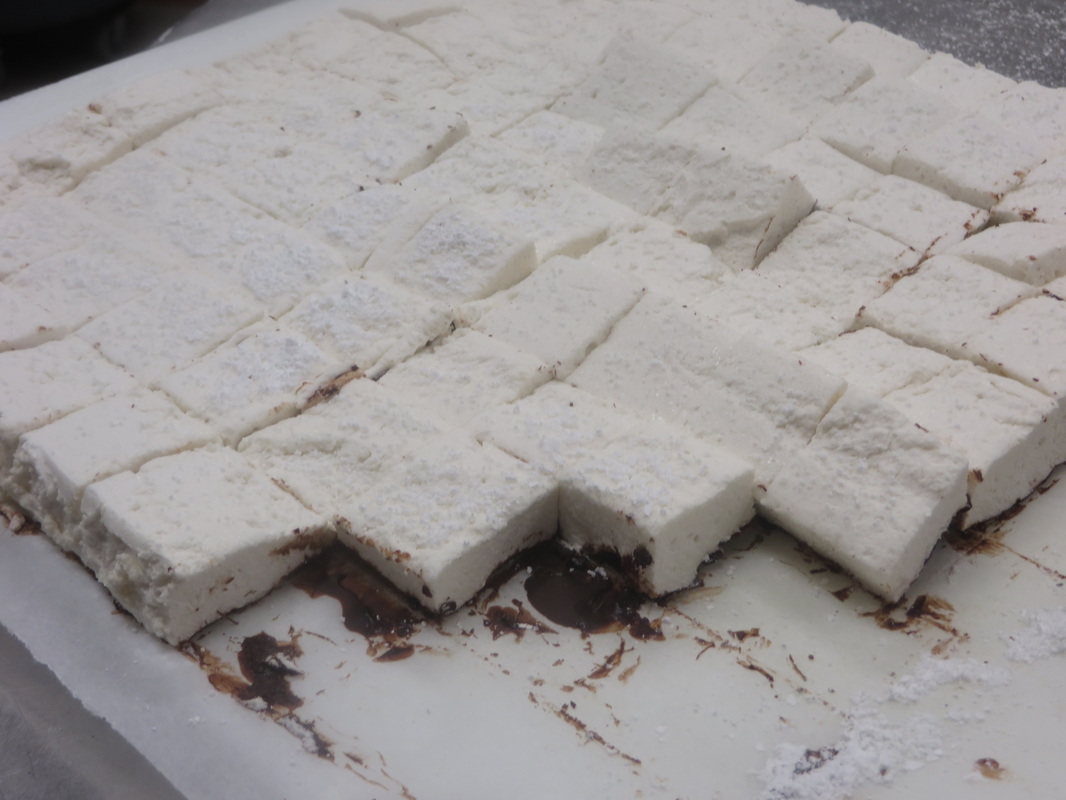
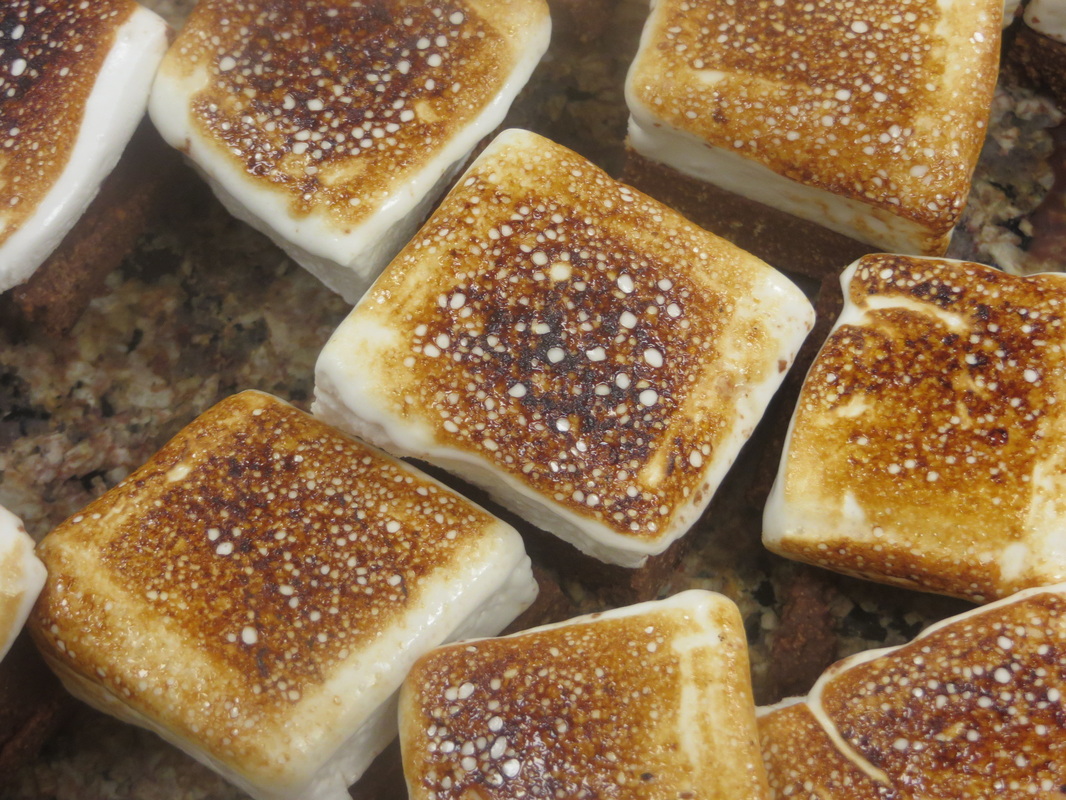
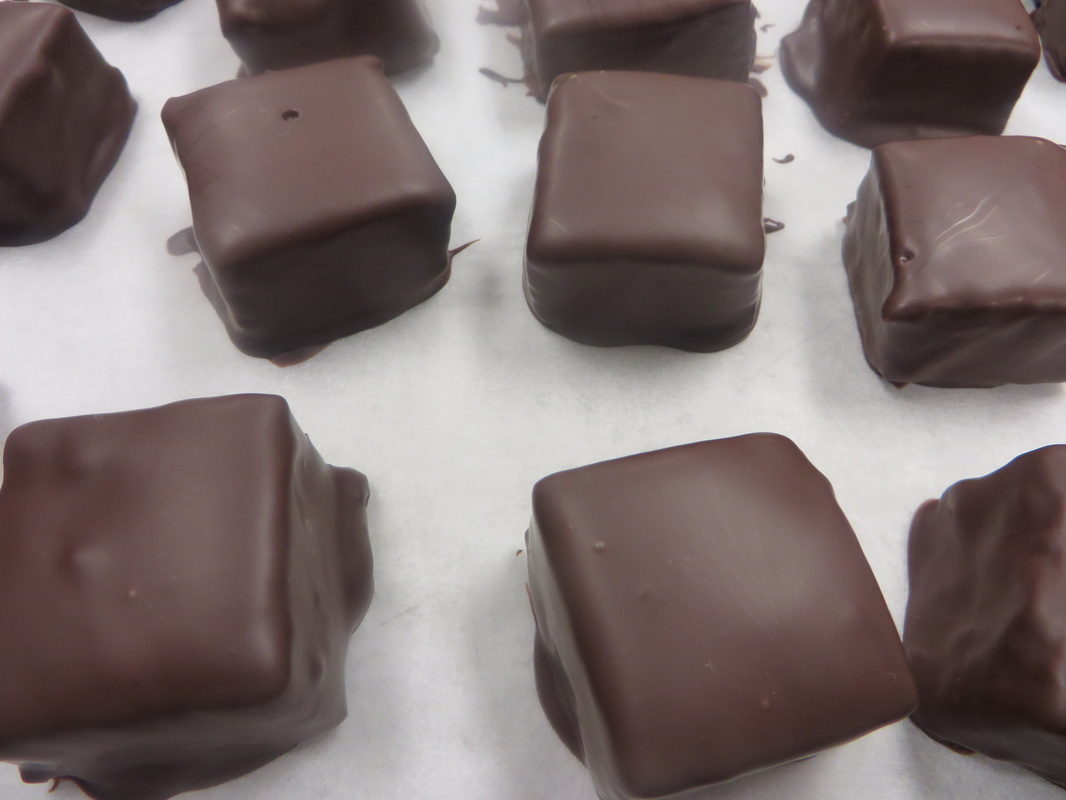
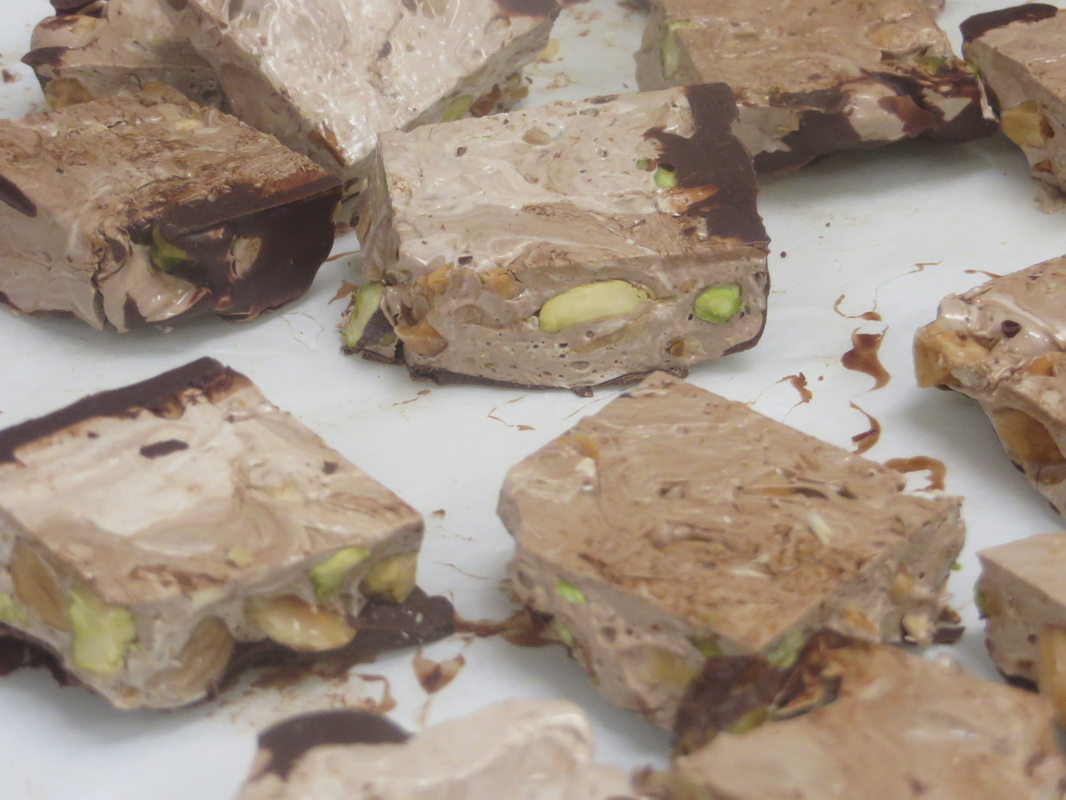
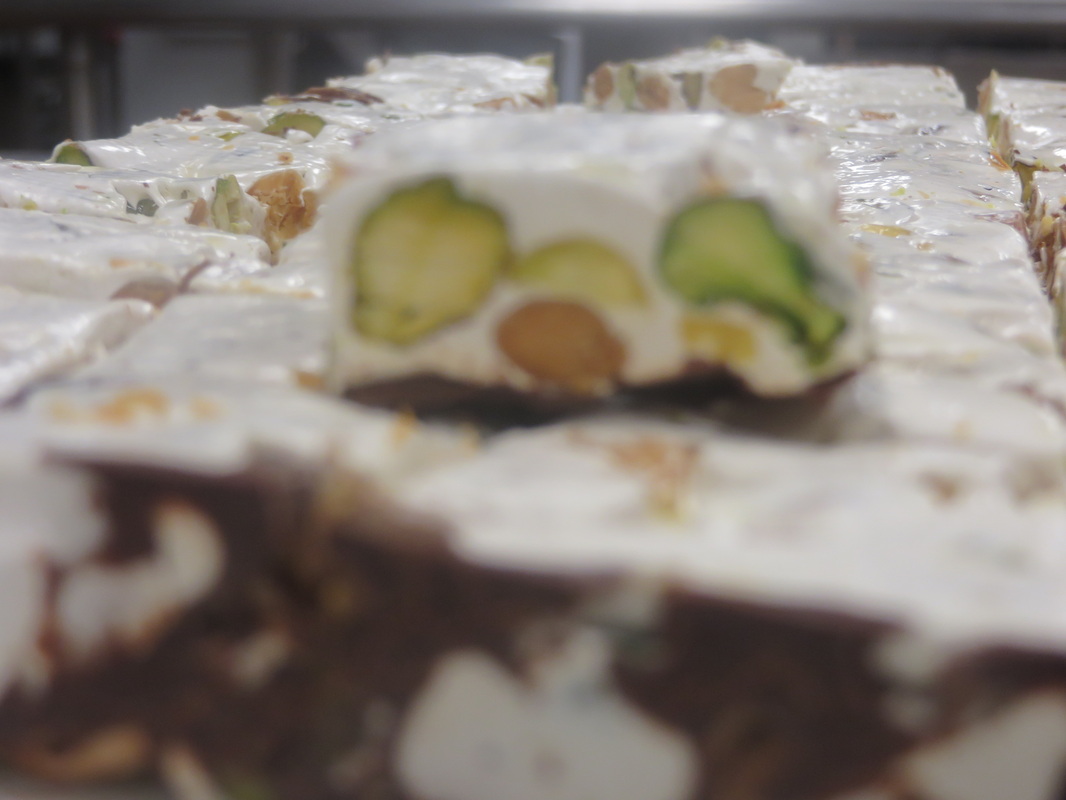
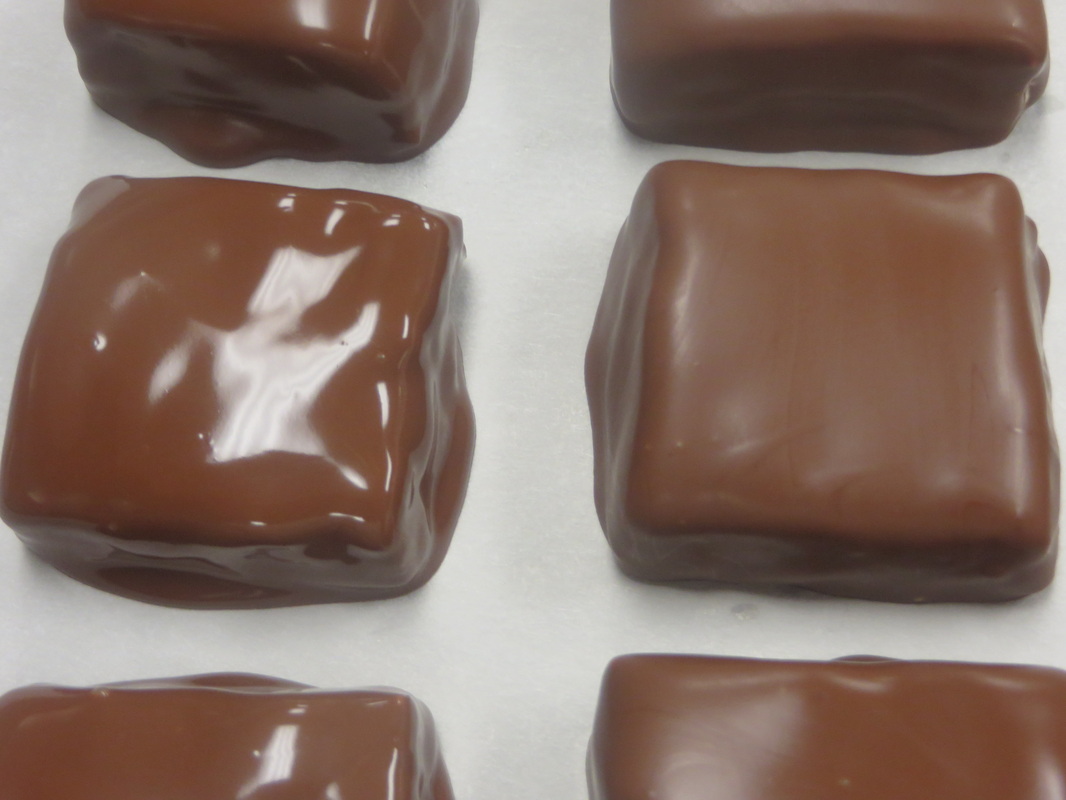
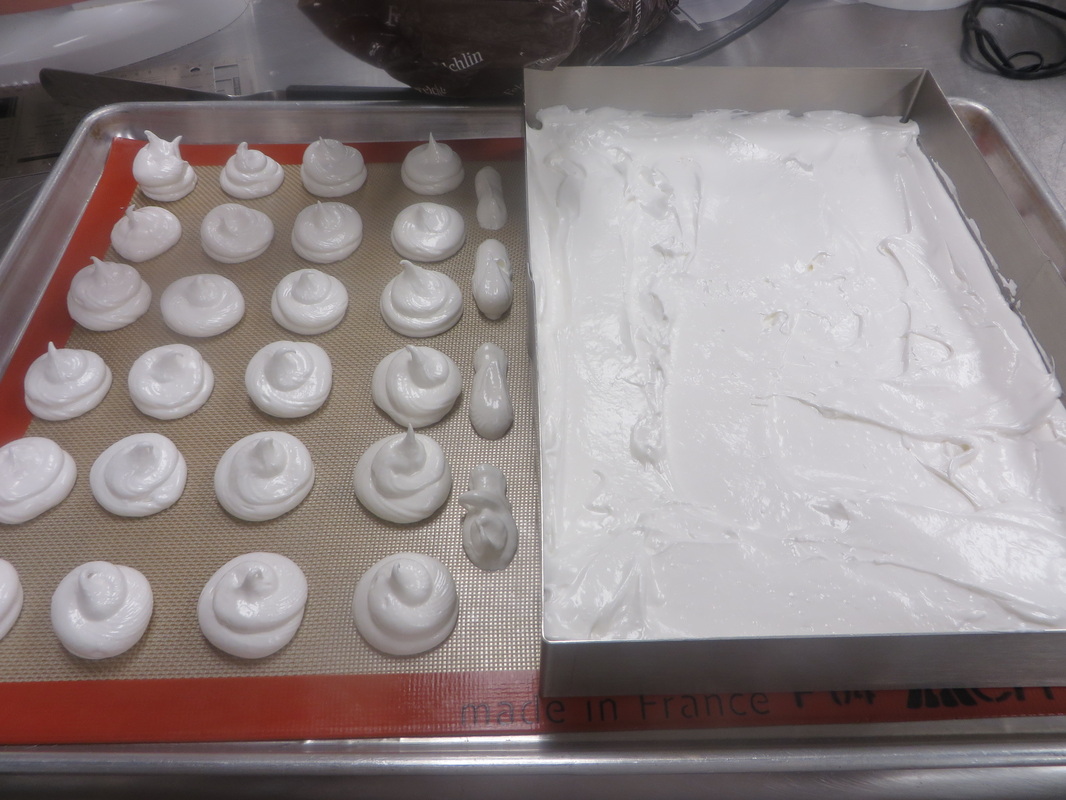
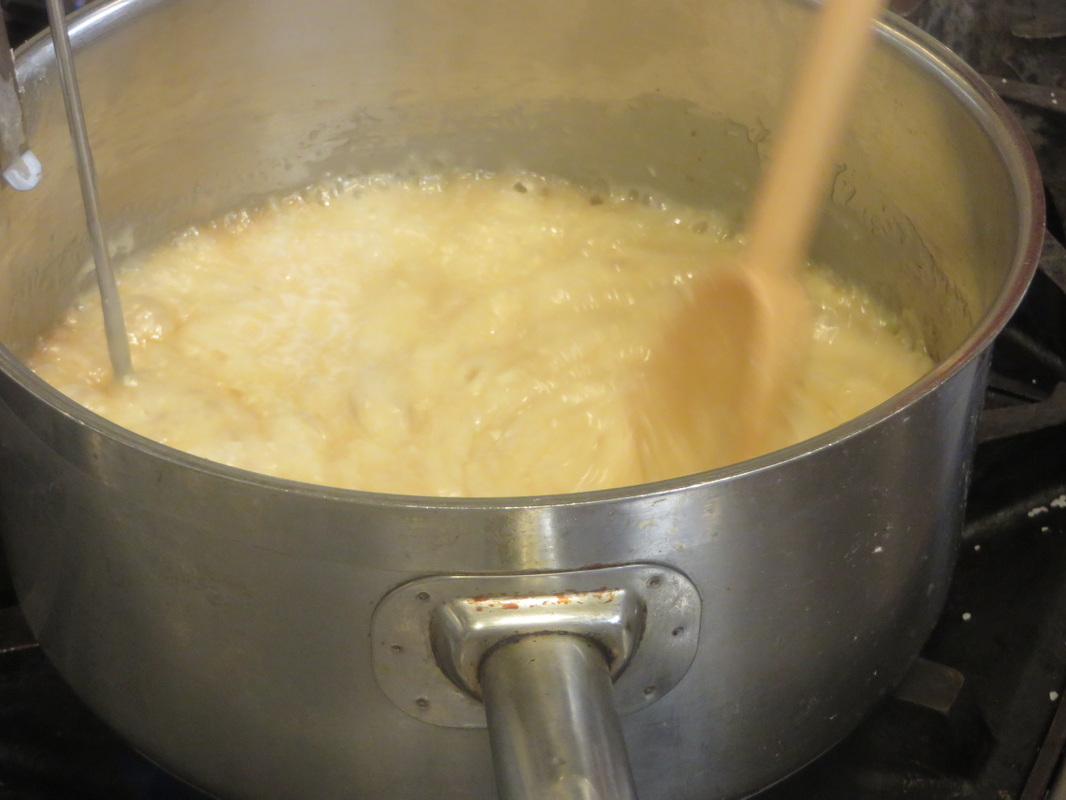
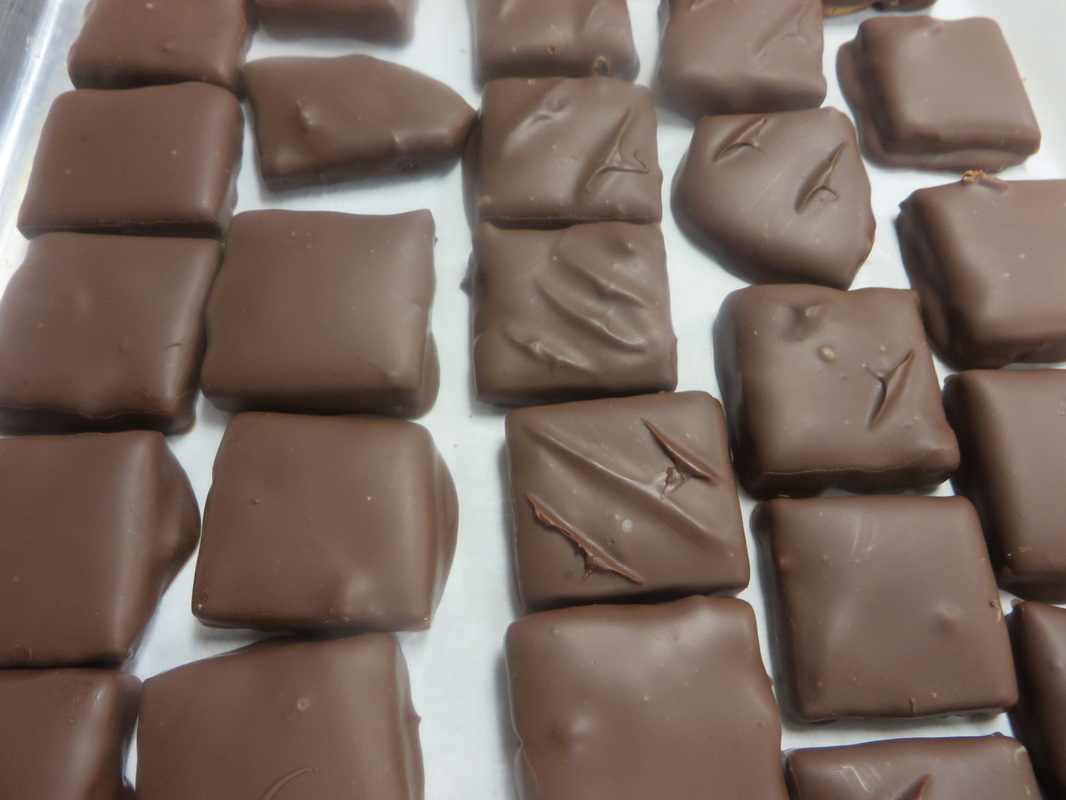
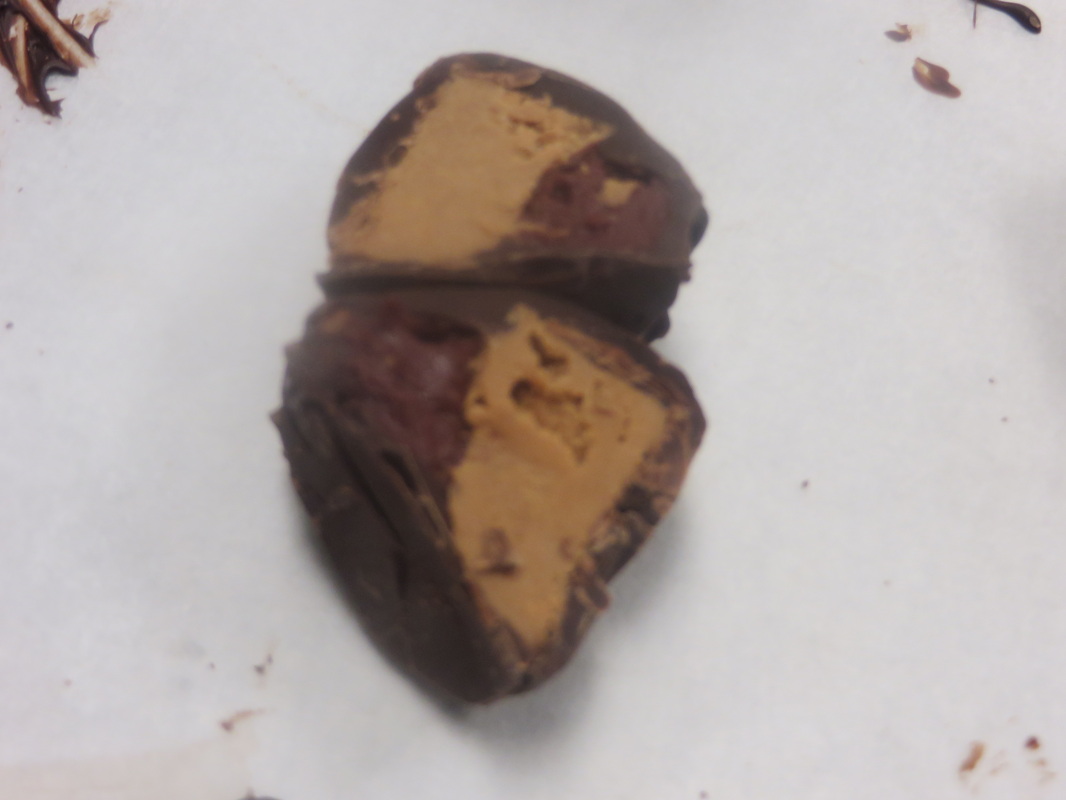
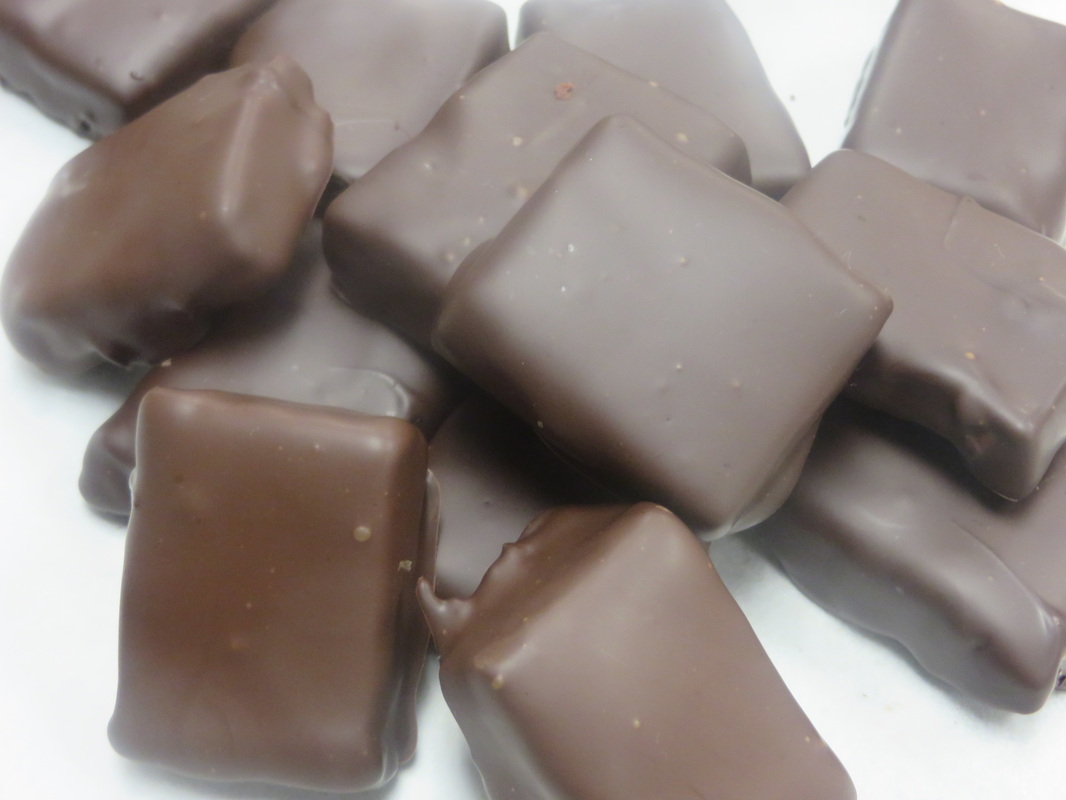
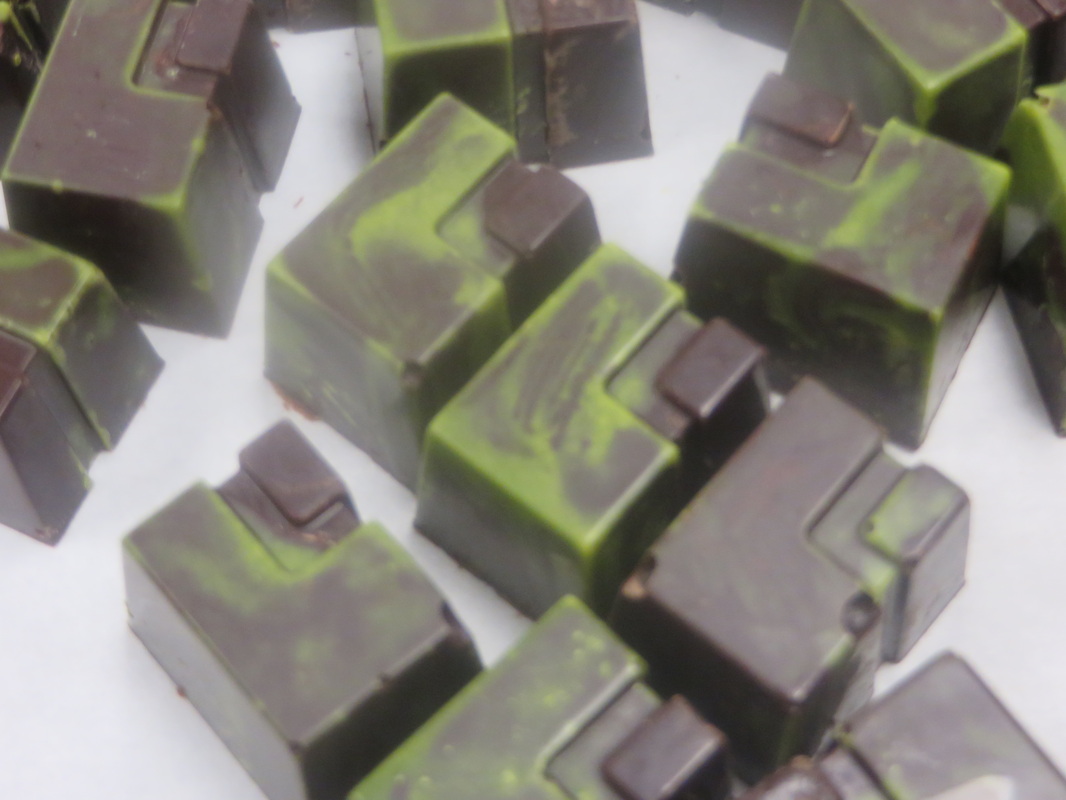
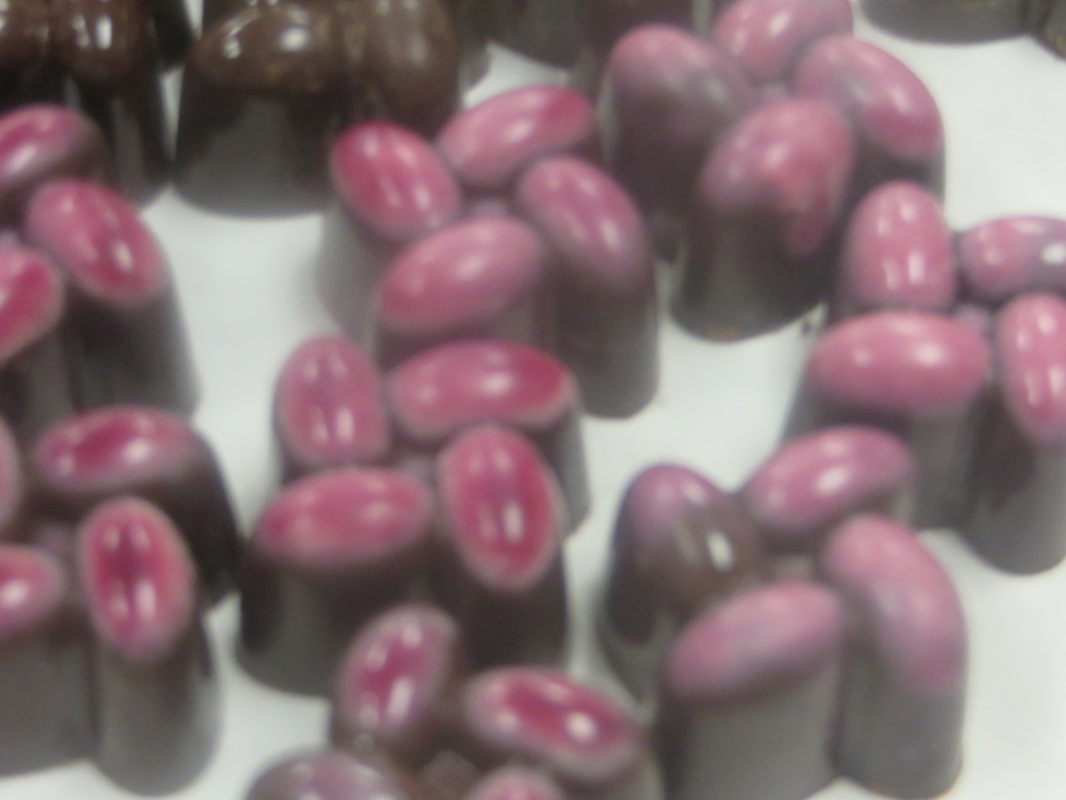
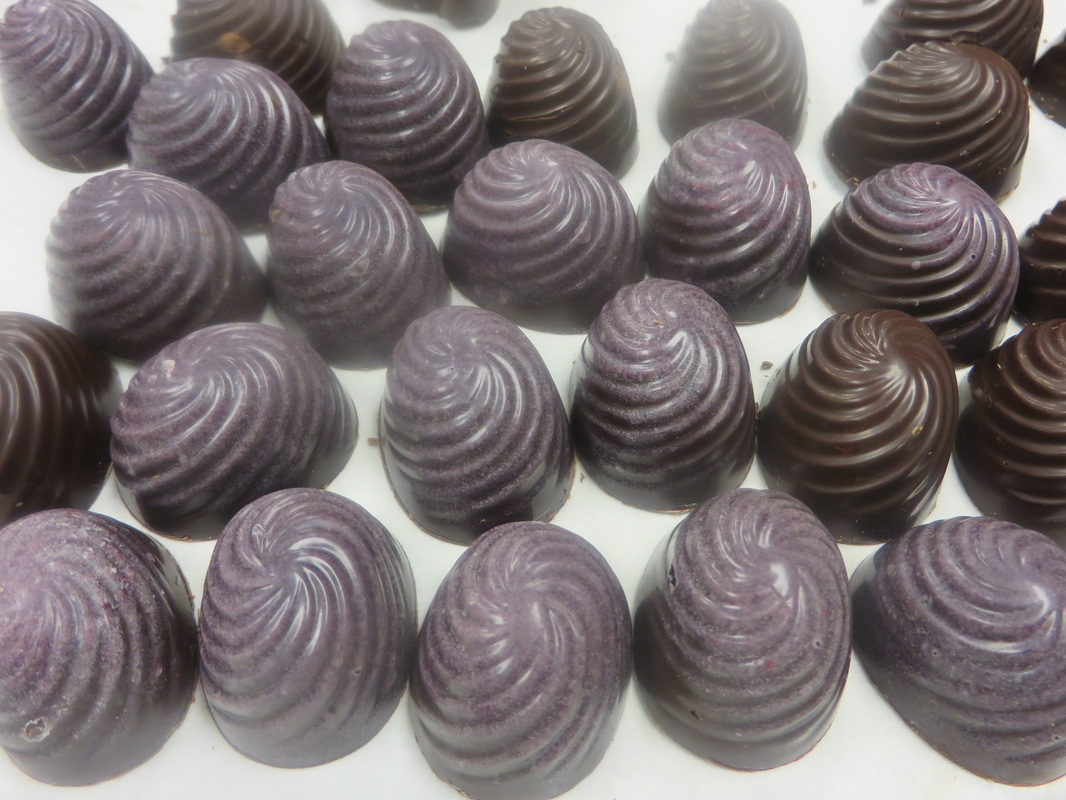
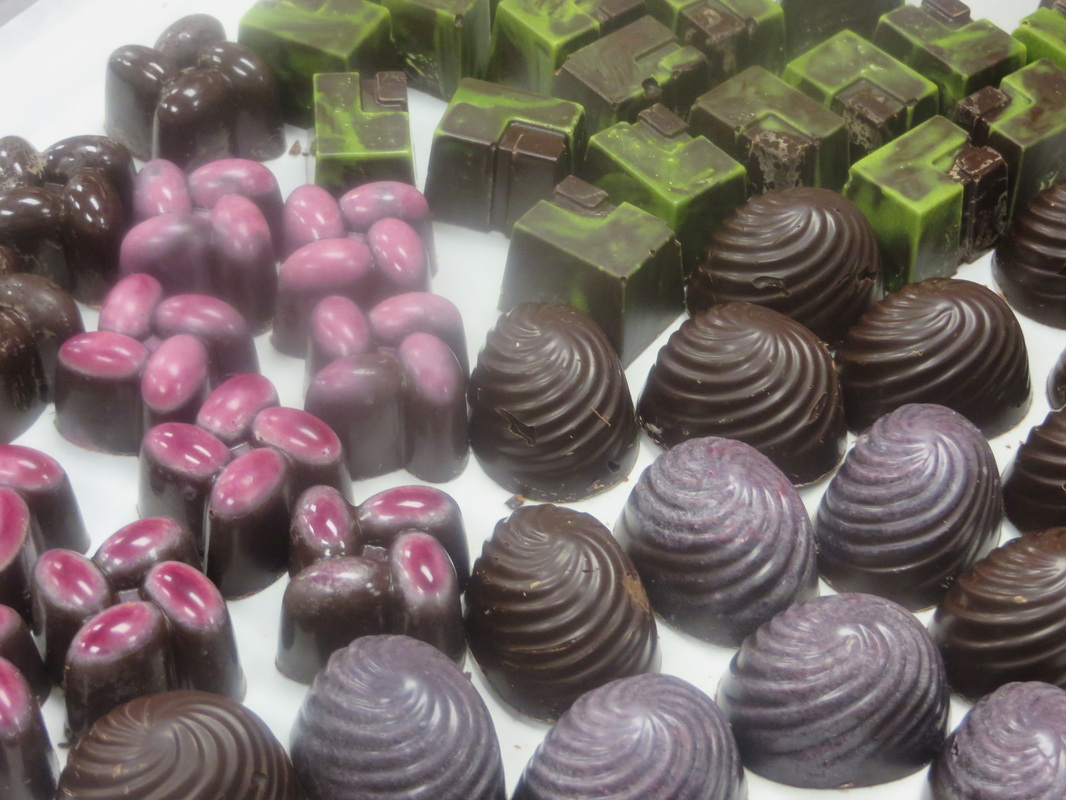
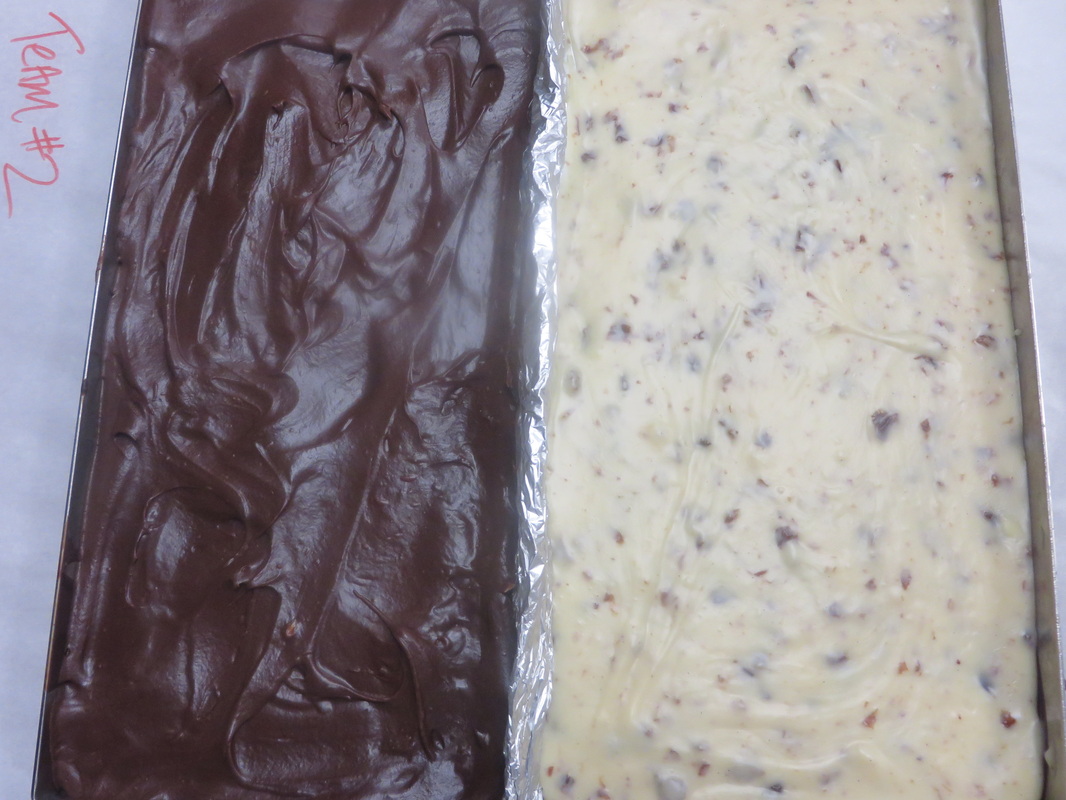
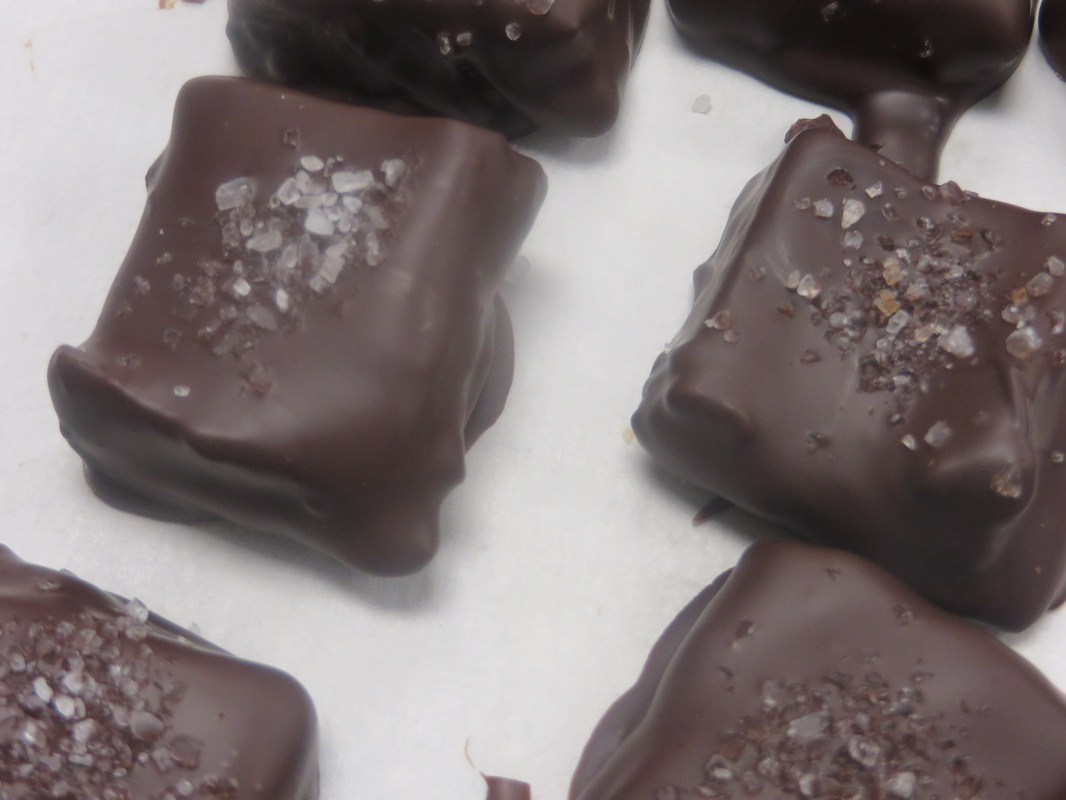
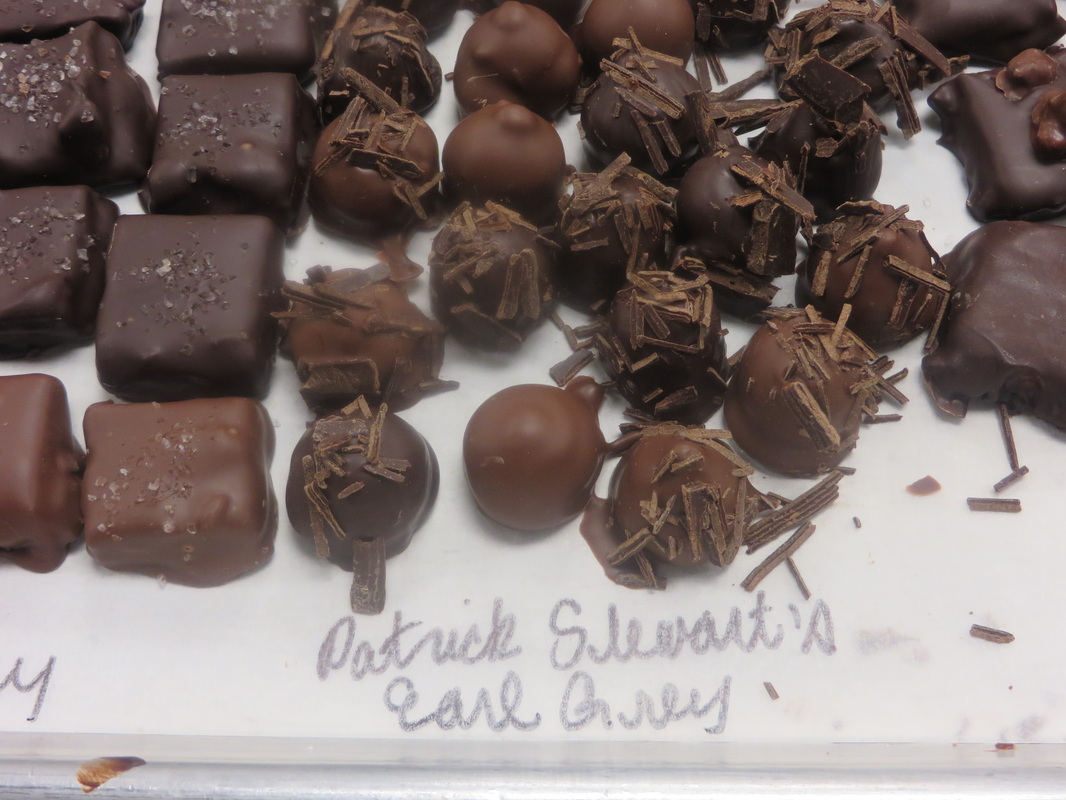
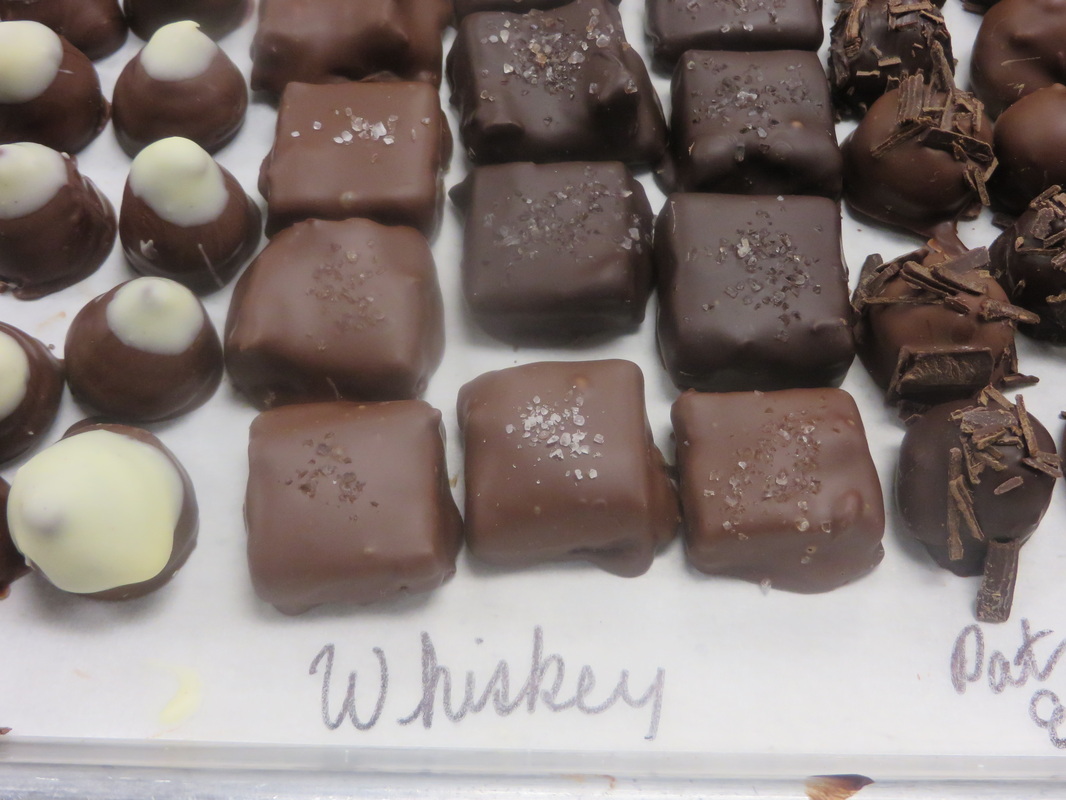
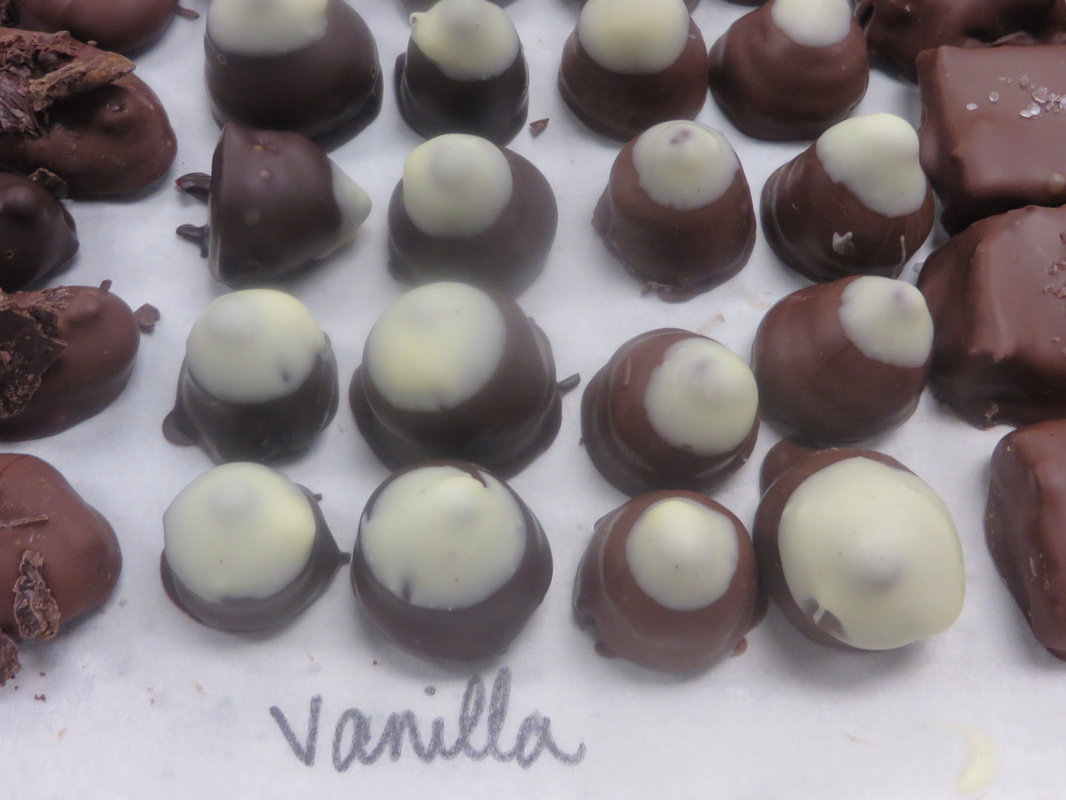
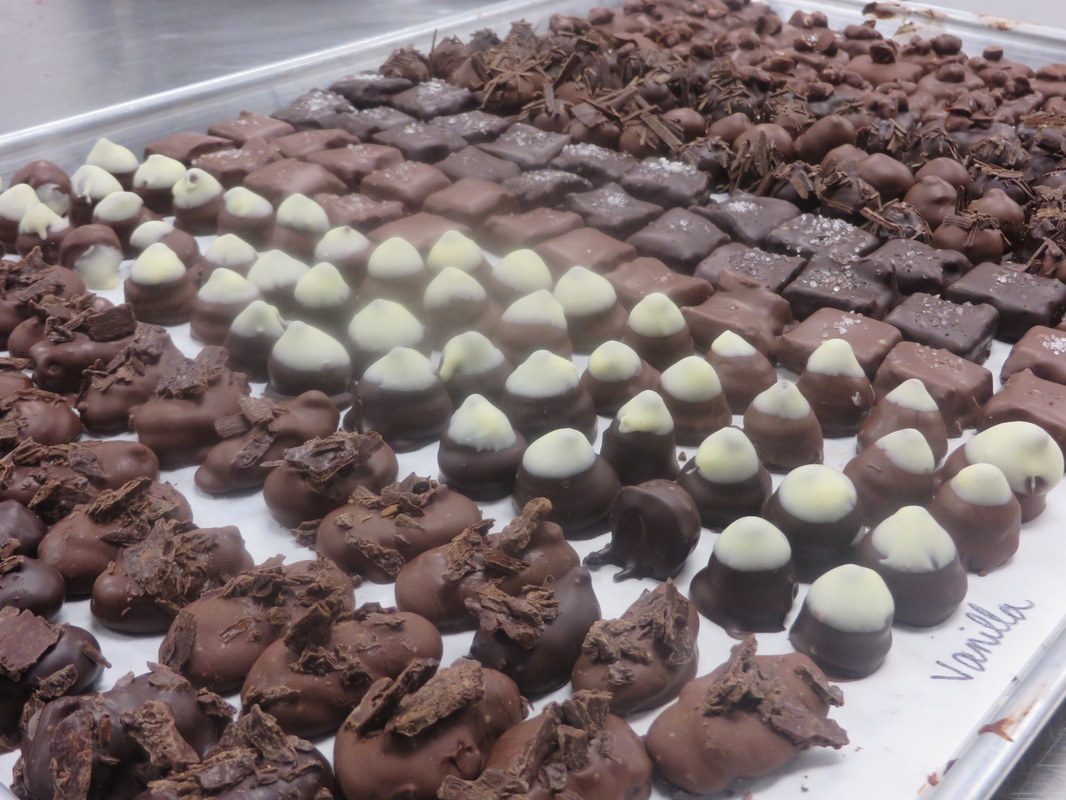
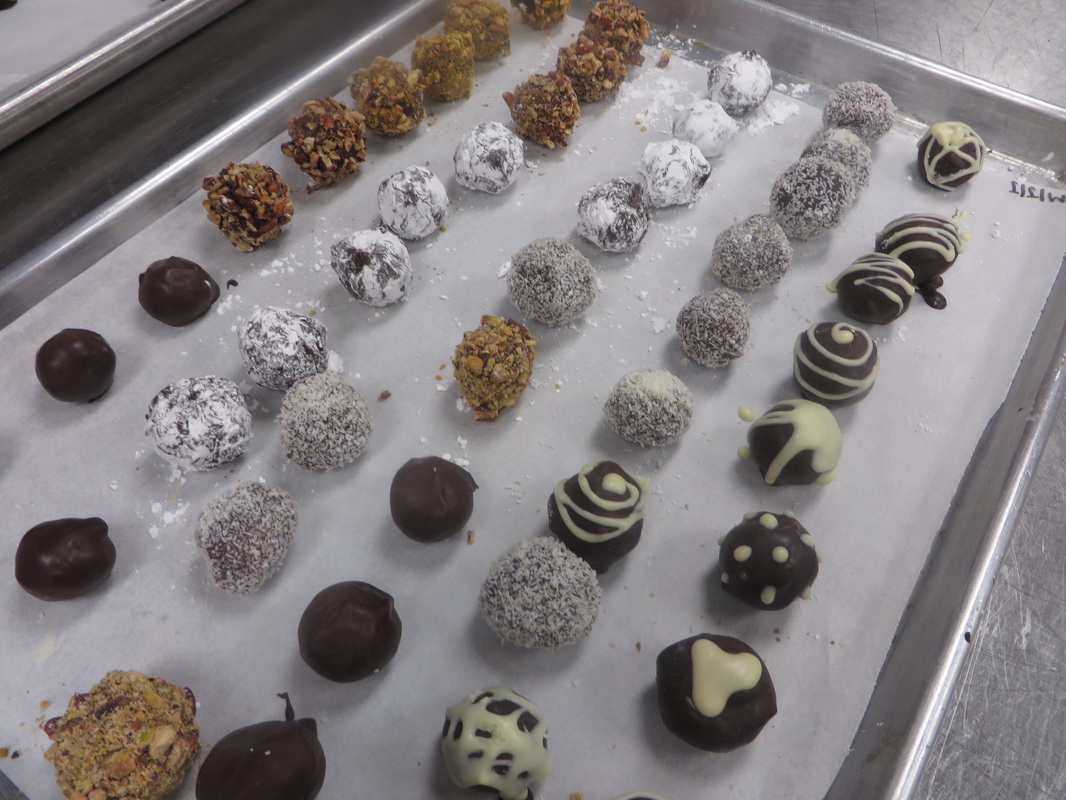
This week was our Final Practical. This was rough, very rough! We made filled & molded chocolates, marshmallows and rolled truffles. All my items tasted great. However, my truffles were a little small and I had trouble with my tempering. I had to start my molded chocolates twice. I really stumbled over the tempering process. On the bright side, my marshmallows were good and my ganache was very good. I have to say I was terrified when it was time to unmold my chocolates. I felt like the weight of the world was on my shoulders. I felt such relief when they came out and I was able to present the 12 that I needed. We used: stand mixer, stovetop, pots, chocolate molds, bowls, spoon, offset spatula, thermometer and refrigerator.
0 Comments
This week we worked on sugar, sugar and more sugar. Specifically - spun, bubble, rock and cast sugar. We also colored sugar and on day 2 we made sculptures out of the individual pieces. Sugar work is tricky. You have to mold it while it is still hot, so planning ahead is essential. It can be really dangerous, so ice water near by is a must. I managed to make one ribbon. Making flowers was easier for me. I think that was because I have a high tolerance for heat and I have large hands. Because of the type of flower I made, I was able to cup/form the sugar in my hand. The was a simple yet challenging week.
We used: Thermometer, pots, coloring, marble slab, heat lamp, proof box and oven. This week we finished our Pastillage sculptures. We smoothed out all of the edges, and glued our swan pieces with royal icing. This was really simple and incredibly nerve wracking! We did make doubles of all of our pieces in case anything broke. We did not need them. We used an airbrush to color our base and flower. I am really proud of the result. The only thing I would do differently, is make the swan bigger.
We used: airbrush machine, off-set spatula and weights to help stabilize the sculpture. This week we worked on jellies, candies/confections with nuts and dried fruits and pastillage. This was the most straight forward week we have had. My group made passion fruit jellies. We boiled sugar, added passion fruit, poured it into a mold and let it cool and set-up. Once it was set, we cut it and dipped it in sugar and let dry. We then made Mendiants. This was really simple. Chocolate discs topped with toasted nuts and/or dried fruit. However, we got to be really creative , and make a spice blend for our chocolate. We used a really unique blend that included Indian dill! If I do say so myself, they were really fantastic! On the second day, we started our Pastillage sculptures. Thankfully, one of my team mates has the ability to draw, I'm still working on that. We found an image that we liked and could recreate in pastillage. We made the dough, cut it out and set it up to dry.
We used: stovetop, thermometer, spoons, mixer, scale and knives. This week we made aerated candies and confections. The menu featured Marshmallows (w/o egg whites), Nougat de Montelimar and Chocolate Nougat. The Marshmallows were a bit easier than last week, less time. Chef Sean made some of the marshmallows into s;mo The nougats were a bit of a challenge. The timing is crucial. On our chocolate nougats, I was melting sugar, melting honey and toasting nuts all at the same time. I'm not sure how I wound up with all of those tasks. As a result, my sugar was a to dark. Thankfully we had time to melt more sugar. The nougats were good. A little hard but good. Another group in class made great chocolate nougats. I wish I watched what they did! Our Nougat de Montelimar, on the other hand, was fantastic! The texture was great. And of course we dipped it in chocolate. This class was a lesson in patience and timing. I definitely need a little work on both.
This week we started Crystalline candies and confections. We made Chocolate Nut Fudge, Peanut Brittle, Marshmallows and Pralines. All of the formulas were quite straight forward. The Peanut Brittle was fantastic! Chef Sean even made a Hazelnut Brittle. I did like the Pralines, although I stirred the sugar too much, so my last Pralines were a little crystalized. The fudge however was terrible! The addition of fondant contributed to the strange texture. It was a bit rubbery. The Marshmallows were an all day event. I did not think it would be. It seems very simple, boil sugar, make whip some egg whites and combine. However, if you timing is off in any way, it will not work. I think they tasted better before they were fully set. I put a few in the oven and I loved the way they tasted.
We used: stand mixer, scale, bowls, knives and spoons. This week felt like a breath of fresh air. While we did temper and dip with chocolate, the lesson was focused on hard candy, caramels and toffee. The ingredients used are really simple, sugar, glucose, doctor, flavor and sometimes cream and butter. The challenge is in the cooking. If you are off 1-2 degrees in either direction your candy will be completely wrong. My difficulty came in making the creamy caramel. The first time, my measurements were off. The second time I cooked it to temperature (according to the recipe) it tasted terrible and the color was all wrong. The third and final time, I cooked to color rather than temperature and added cream at the end. The result, not creamy, but hard. The flavor was fantastic! Since I made a firm caramel, my team remade the creamy caramel, using a completely different cooking technique and came out with a great creamy caramel. Due to the humidity in the room, on day two we remade the toffee. It was way to sticky/soft to dip.
We used: bowls, scale, spoons, stovetop, marble slab, candy frame and candy thermometer. This week was all about molded/filled chocolates. We made Noble (Raspberry Ganache) and a Praline filling. We also made Cappuccino, Passion Fruit and Pistachio Macarons. The fillings were straight forward. The molds were a different story. You can't just pour and go. The molds must be properly cleaned and heated to between 85-92 degrees. The chocolate must be properly tempered and poured thick enough to hold filling but thin enough to not take away from the filling. Thankfully my chocolate was tempered really well. My chocolates came out perfectly. Since we have to do molded chocolates on the final, I'm glad my first experience went really well.
We used: Polycarbonate molds, bowls, scale, stovetop, spoons and proof box (to warm molds) This week we learned how to make infused ganaches and dipped chocolates. Basically enhancing the flavor of the chocolate by adding a complementary flavor and then enrobing them in a chocolate shell. We made: Earl Grey Ganache, Madagascan Vanilla Ganache, Coffee Ganache, Whiskey Ganache and Run Raisin Ganache. Normally, I do not like Earl Grey tea, but this ganache was fantastic! The Whiskey was also a favorite. But in fact, they were all good. On the second day, we tempered chocolate. We then made the bottoms and then dipped the chocolate. All of our chocolate were decorated. My team used chocolate shavings, chocolate shavings with ground coffee beans, white chocolate and sea salt. We also focused on shapes, logs, round and slab. The rounds and logs are piped. The slab is spread into a form, chilled and then cut. This was a busy but very productive week.
We used: double boiler, stove top, scale, bowls, knives and spoons. The main focus on day 1 was tempering chocolate. Tempering is what you need to do to give chocolate the proper shine and snap. It sounds simple-melt chocolate, cool and test. However, if you are off in temperature, a lot of things can happen. Your chocolate may not set up properly. If it does set up, it can have streaks of be dull and cloudy. You can temper the chocolate two different ways: seeding or on a cool slab. If you are using the seeding method, you add unmelted chocolate to bring the chocolate to the proper temperature. With the cool slab method, you pour a portion of the milted chocolate onto a slab, preferably marble. You work the chocolate back and forth until cool and them you add it back to the remaining melted chocolate. I prefer the cool slab method. My rhythm is not quite there yet, but I am working on it.
On day 2 we made Dark Chocolate Burbon Truffles. In order to make a truffle, you first need to make a ganache. We piped the ganace into a round, using a plain tip. Then we rolled them in powdered sugar, a thin shell of chocolate and them we dipped them in chocolate. We decorated them with nuts, coconuts, white chocolate and/of powdered sugar. We used: candy thermometer, pots, stovetop, bowls, scale, spoons, marble slab, bench scraper and piping bags. |
AuthorKimberly-baker and food history enthusiast! Archives
March 2015
Categories
All
|